POS Import Interface
Recent Changes
- Reworked to the interface to utilize templates to make importing of data simpler than ever.
- An generated invoice preview has been added
- Many bug-fixes and improvements
Details
Disclaimer
Initial setup and configuration of the POS Import Interface by an Orchestra Software is required.
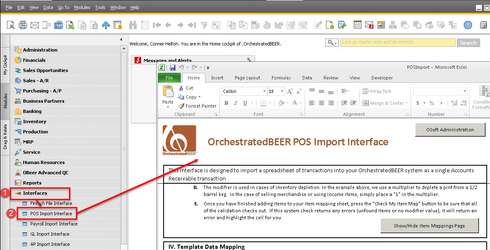
- Navigate to Interfaces → POS Import Interface
- Next, click the Sync with OBeer button to ensure you have the latest information built into the POS Interface
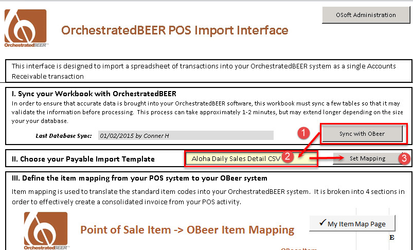
- Select the template you wish to work from and click the mapping button.
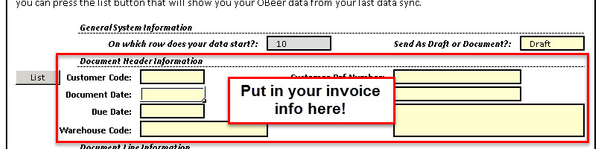
- Move down and choose whether you would like to import this as a Draft A/R Invoice or as an actual A/R Invoice. (Best Practice is to import via a draft)

- Now input the customer card code for your tap room, your preferred dates, warehouses, ref number and even project code or comment. This is all information that will be displayed on the A/R document.
- You are now ready to paste in the data from your POS System. Copy the information you received from the POS system export and paste it into the worksheet.
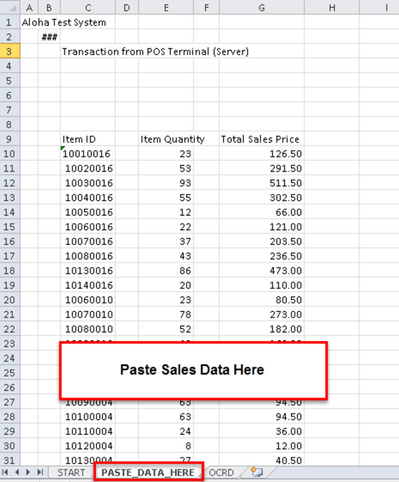
- Now that you have pasted in the data from your POS system, go back to the Start Tab and press Build Invoice Proof.
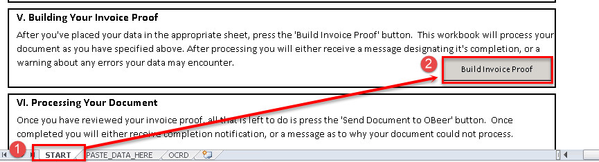
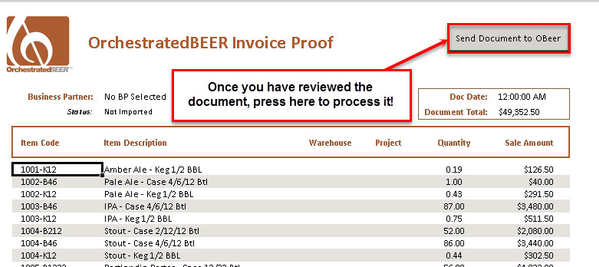
- Be sure to review the proforma invoice prior to submitting it into OBeer. Once you are satisfied with how it looks, press Send Document to Obeer.
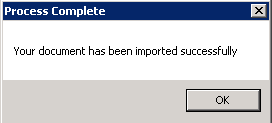
- The program will go through a series of error checks to ensure everything is OK. If it is you should see this happy message
 .
. 
- Lets go into OBeer and take a look at the invoice you just imported.
Go back to OBeer
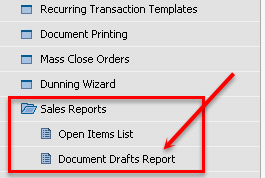
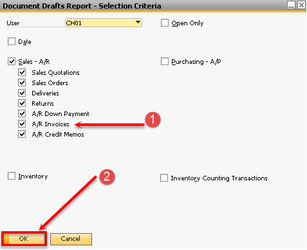
- Navigate to Sales - A/R → Sales Reports → Document Drafts Report
- Ensure the 'A/R Invoices' box is checked, then press OK.
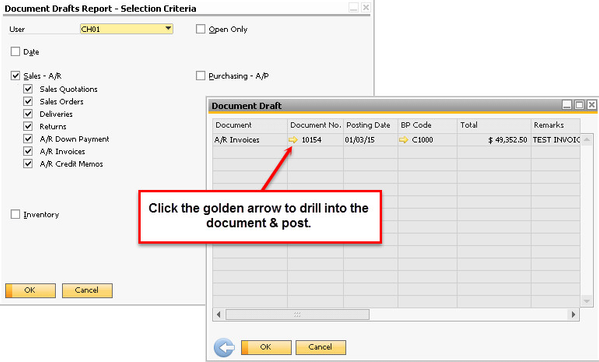
- With the Draft Document List open, click the golden arrow next to the document you just created.
- Review the document for accuracy, then click ADD to post!
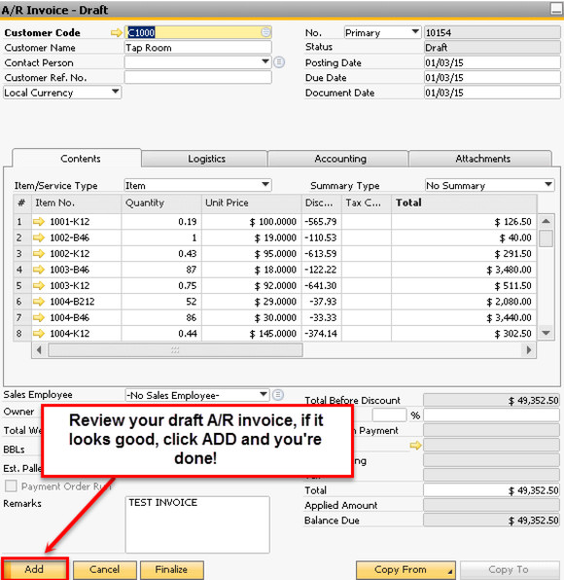
- $$$!